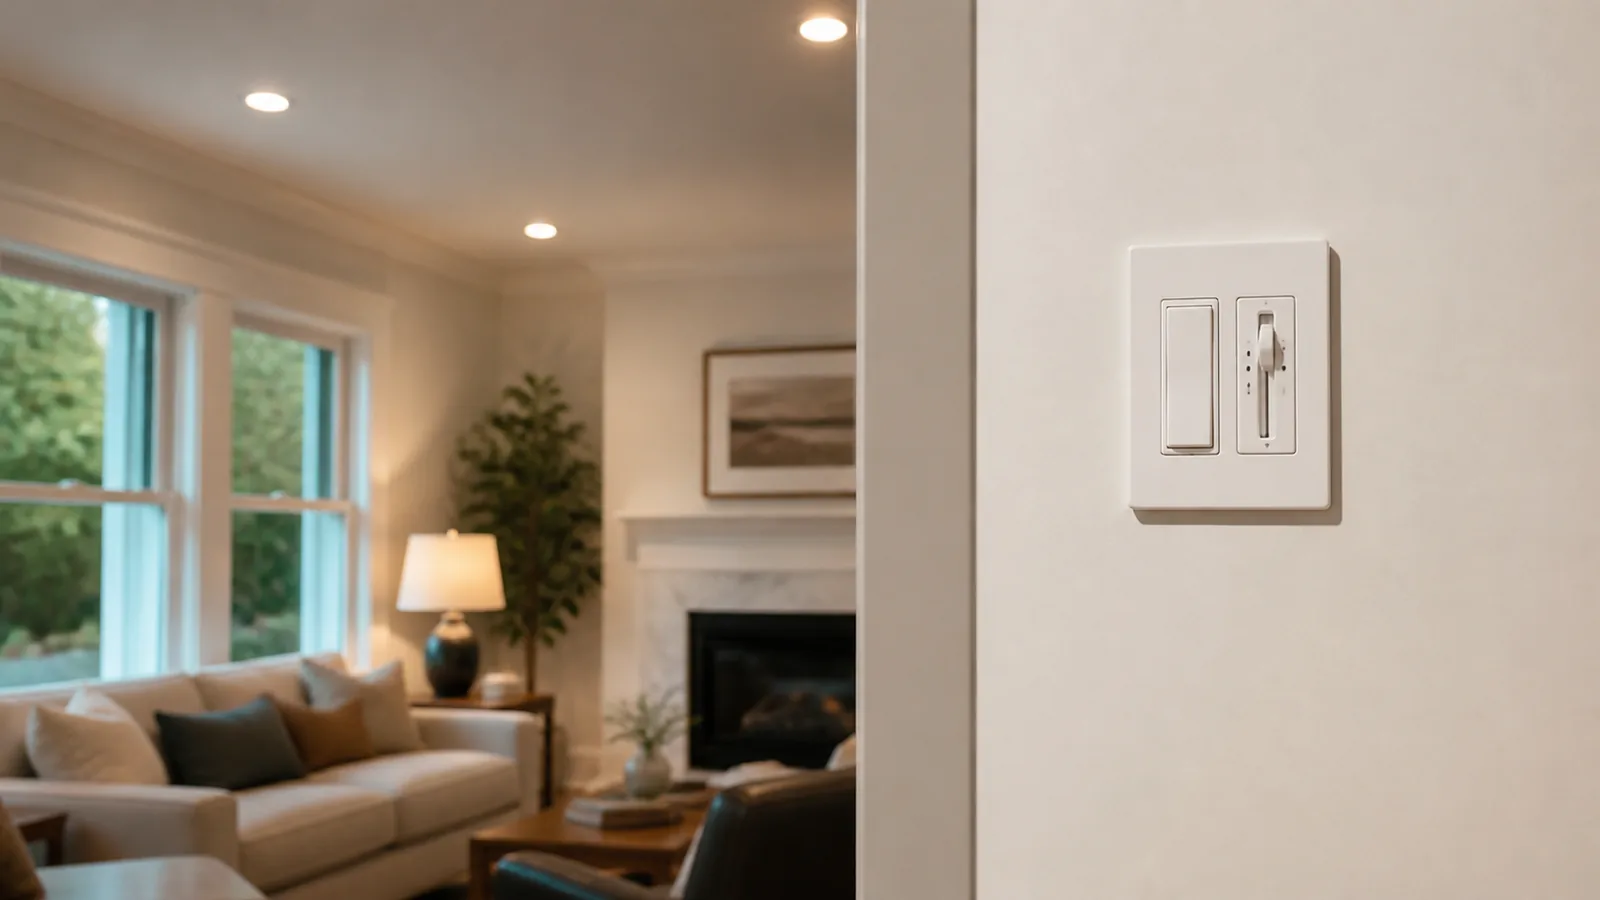
Switch & Dimmer Install guide
Light Switch & Dimmer Installation
Switch and dimmer installation starts with the lighting load and desired control behavior. Fixture type, driver or lamp compatibility, wiring at the box, multi-location switching, grounding, device depth, and smart-control requirements affect the scope.
Updated July 26, 2026
Light Switch & Dimmer Installation, explained
The key decision is: Which control type is compatible with the load, wiring, location, and desired operation? A useful installation scope connects the selected equipment and location to wiring, capacity, access, controls, testing, and finish responsibilities.
Start with the affected equipment or area, the visible condition or desired result, and any recent change. The sections below explain the scope choices and quote details that matter for switch & dimmer install.
When to plan switch & dimmer install
Define the equipment, location, intended use, existing conditions, and finish expectations before comparing installation proposals.
Needs and situations this service covers
- I need a switch or dimmer installed
- You want to add dimming capability to your lights.
- You're upgrading to smart switches for home automation.
- Existing switches are outdated or malfunctioning.
- You need to install a timer switch for convenience.
What can change the scope
- Desire for energy efficiency and mood lighting.
- Adding smart home features.
- Replacing faulty or worn-out switches.
- Home renovation or redesign projects.
- A replacement can include diagnosis, device and box inspection, grounding, mounting, wall plate, testing, and correction of a defined connection issue.
- The dimmer should be selected for the fixture, lamp or driver, load range, control arrangement, box conditions, and desired dimming performance.
Which control type is compatible with the load, wiring, location, and desired operation?
The proposal should identify the controlled load, device, box and wiring conditions, control locations, compatibility, setup, testing, and finish responsibilities.
Standard switch replacement
A replacement can include diagnosis, device and box inspection, grounding, mounting, wall plate, testing, and correction of a defined connection issue.
Dimmer installation
The dimmer should be selected for the fixture, lamp or driver, load range, control arrangement, box conditions, and desired dimming performance.
Multi-location controls
Two-location and multi-location switching may require compatible devices, existing traveler wiring, added conductors, or a different control strategy.
Sensors, timers, and smart switches
Device wiring, box depth, load compatibility, network or hub needs, companion devices, and configuration should be stated.
New switch or control zone
New locations and zones can add boxes, wiring, circuit work, wall access, fixture regrouping, and finish restoration.
Fault diagnosis before upgrade
Flicker, buzzing, heat, failure to switch, and repeated device failure should be traced before a new control is treated as the repair.
Useful observations and electrical safety boundaries
Share what you can observe without opening equipment or touching wiring. Energized testing, disassembly, and repair belong to a qualified electrician.
Useful details to note
- Which fixtures or loads the control operates and how many control locations exist
- Fixture, lamp, driver, fan, or smart-device model information when available
- Desired dimming, timer, sensor, scene, voice, app, or remote-control behavior
- Flicker, buzzing, heat, delay, dropouts, or other behavior noticed without touching the device
- Identify if current switches are functioning properly.
- Check if existing dimmers are compatible with LED bulbs.
Leave these steps to an electrician
- Do not remove the switch plate or pull the device from the box to inspect wiring
- Do not assume a dimmer or smart switch is compatible with every fixture or motor
- Do not bypass a multi-location control to make the lights operate
- Do not keep using a control that is hot, sparking, scorched, or producing a burning odor
- Always turn off power to the circuit before any electrical work.
- Only qualified electricians should handle wiring changes.
Warning signs to mention when requesting help
There is active fire, visible smoke, or a serious electrical injury; Installing a 3-way switch configuration.; Upgrading to smart switches that require a neutral wire.; Replacing a switch in an older home with outdated wiring.; Anytime you're unsure about electrical compatibility..
How an electrician plans switch & dimmer install
The exact sequence depends on the selected equipment, existing electrical system, route, access, and findings at the property.
- 1
Define the control goal
Confirm the fixtures or loads, number of locations, dimming range, sensor or timer behavior, smart features, and preferred controls.
- 2
Inspect the existing control
Evaluate device condition, box space, grounding, available conductors, multi-location wiring, wall condition, and signs of heat or damage.
- 3
Verify load compatibility
Identify the fixture, lamp, driver, motor, or connected equipment and match the control type and ratings to that load.
- 4
Plan wiring and device changes
Define replacement devices, companion controls, new boxes or conductors, wall access, network or hub needs, and setup responsibilities.
- 5
Install and configure
Complete mounting, wiring, wall plates, companion devices, sensor settings, schedules, app or hub setup, and agreed cleanup.
- 6
Test every control mode
Verify on/off behavior, dimming range, multi-location operation, sensor coverage, timer functions, manual fallback, and smart commands.
- 7
Initial Assessment
Determine the type and location of switches or dimmers you wish to install.
Get light switch and dimmer installation help
Call or request availability to connect with electrician help.
What affects switch & dimmer install cost
The cost of installing or replacing light switches and dimmers varies based on several factors. Treat published ranges as planning references rather than a quote for a particular property.
Type of switch or dimmer being installed.
Compatibility with existing wiring.
Need for additional wiring or modifications.
Geographic location and local labor rates.
| Scope | Typical range | What it usually involves |
|---|---|---|
| Basic Switch Installation | $125-$300 | Simple replacement of a standard switch. |
| Dimmer or 3-Way Switch Installation | $175-$425 | Installation involving dimmers or multi-location control. |
| Smart Switch Installation | $250-$650 | Includes additional wiring and setup for smart features. |
Cost ranges are estimates developed from standardized project scopes and reviewed pricing inputs. Government labor and regional cost data are used where applicable. See our Pricing Methodology for the exact sources, calculations, and review date. Actual prices vary by property, scope, materials or equipment, location, and provider.
How to compare the written scope and quote
Compare what each proposal includes, what assumptions it makes, and how findings that change the scope will be handled, not only the total price.
- Which fixtures or loads and how many control locations are included?
- How was device compatibility with the lamps, drivers, fixtures, or motors verified?
- Which switches, dimmers, sensors, timers, companion devices, plates, and boxes are included?
- Are new wiring, neutral conductors, circuit work, or wall access included?
- Who provides network, hub, account, app, voice-assistant, and automation setup?
- Are patching, painting, labeling, disposal, and cleanup included?
- How will dimming, multi-location operation, sensors, timers, and smart functions be tested?
- What existing wiring or device condition could change the scope?
Common issues related to switch & dimmer install
Choose the closest visible symptom for a focused explanation of urgency, useful observations, and the service that may fit.


Light Switch & Dimmer Installation: common questions
Can I install a dimmer switch myself?
While some homeowners may attempt this, it's safer and more reliable to have a qualified electrician handle the installation.
Do smart switches need special wiring?
Many smart switches require a neutral wire, which may not be present in older homes. An electrician can assess your wiring setup.
Are dimmers compatible with LED bulbs?
Not all dimmers work with LED bulbs. Make sure to choose a dimmer that's compatible with your lighting to prevent issues.
What should I do if my switch feels warm?
A warm switch could indicate a wiring issue or overload. Contact an electrician to evaluate and address the problem safely.
Sources and editorial review
Service guidance is checked against the government, safety, and consumer sources below. Equipment instructions, site conditions, and the requirements that apply to a specific address can still change the right scope.


Helpful resources
Plan switch & dimmer install with clearer information
Use these related guides to understand the scope, prepare useful questions, and compare electrical proposals.
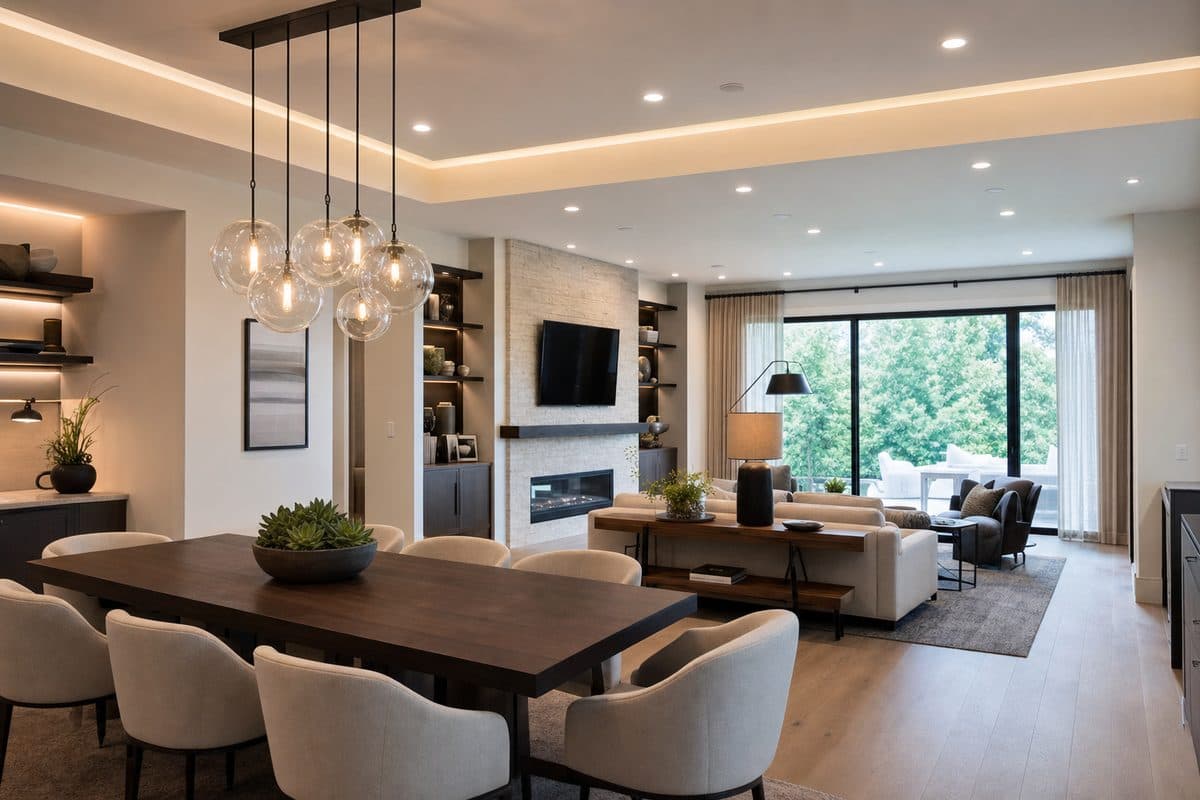
How to Plan a Home Lighting Upgrade
A good lighting upgrade starts with decisions you can make before installation day. Use this guide to compare room goals, light appearance, controls, and fixture planning before requesting quotes.
Read guide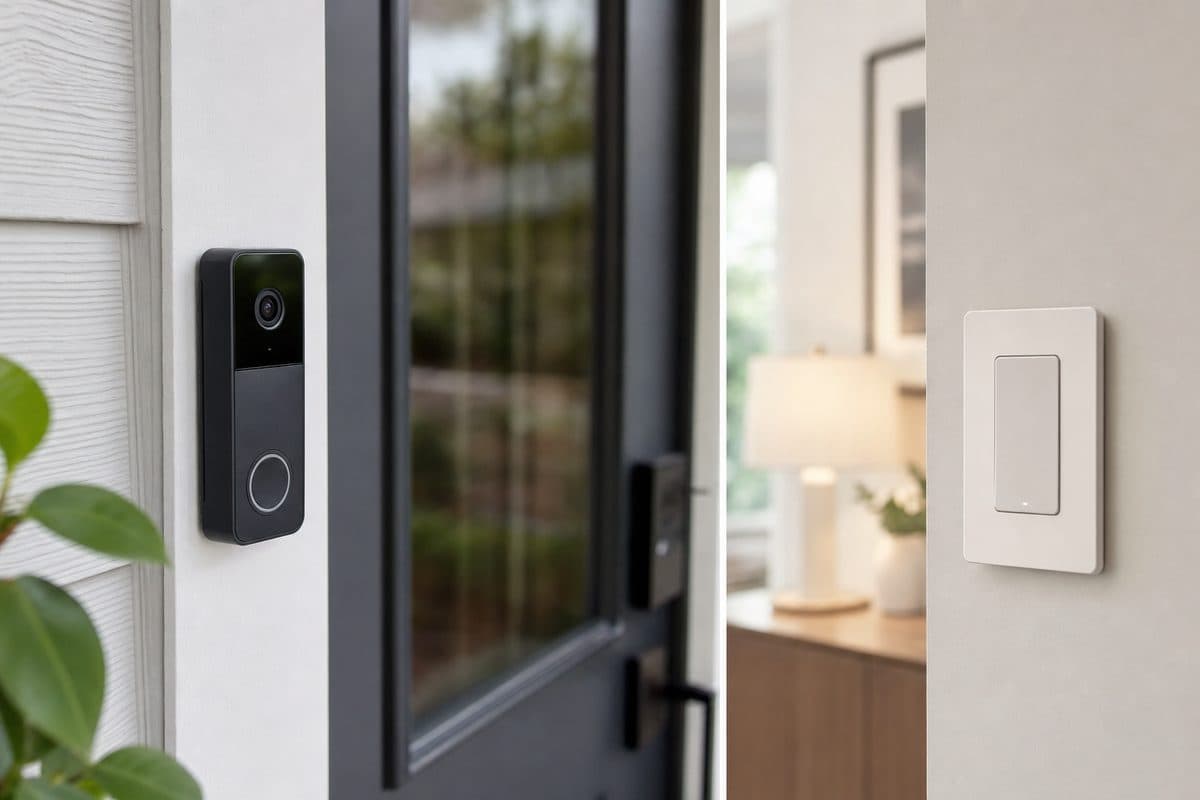
Video Doorbells and Smart Home Electrical Planning
A practical planning guide for video doorbells, smart switches, sensors, hubs, and connected devices. Learn what to check before requesting electrician help, from power compatibility to account security.
Read guideNationwide coverage
Light Switch & Dimmer Installation by state and city
Select a state or popular city to view switch & dimmer install guidance and check electrician availability in that area.
Get light switch and dimmer installation help
Call or request availability to connect with electrician help.
Call (833) 962-0486 to talk through the electrical problem and check electrician availability.